1 Choose Your Diamond
1. Diamond
2 Choose Your Setting
2. Setting
3 View Complete Ring
3. Preview
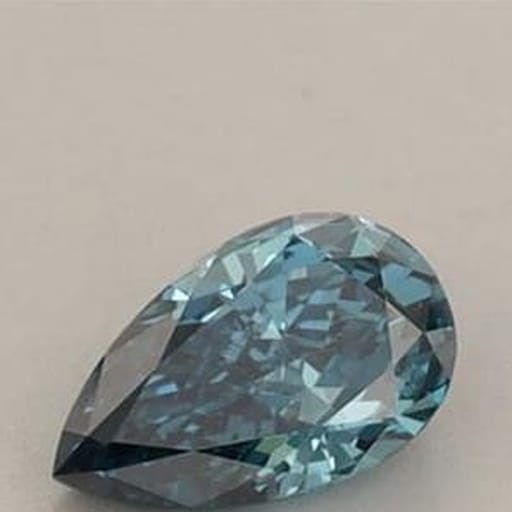
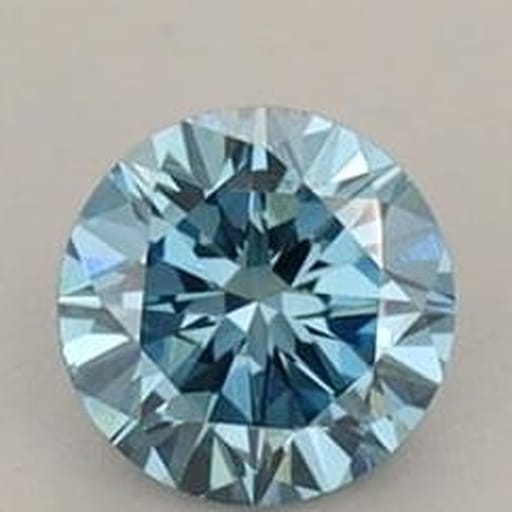
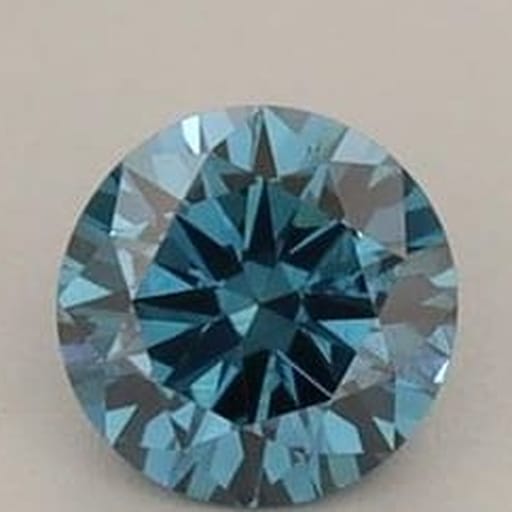
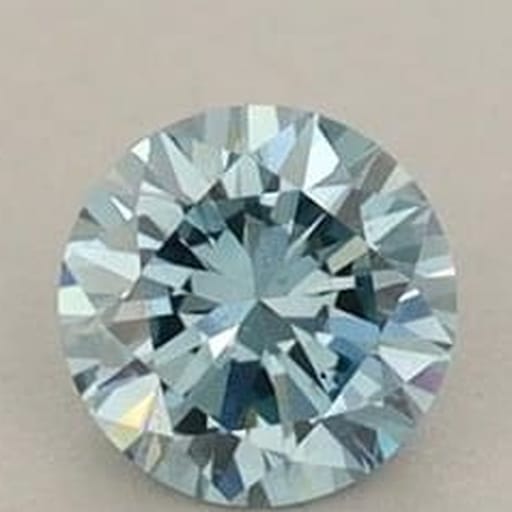
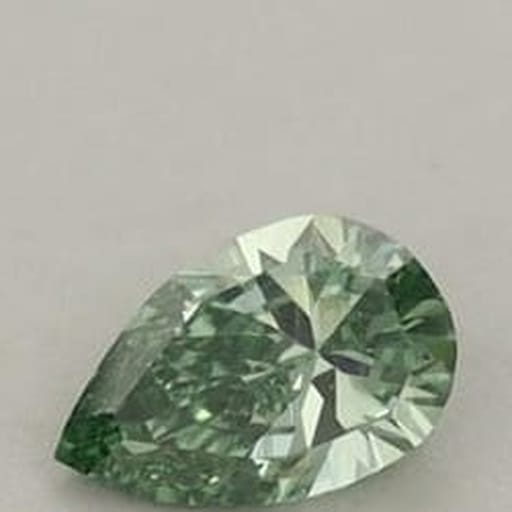
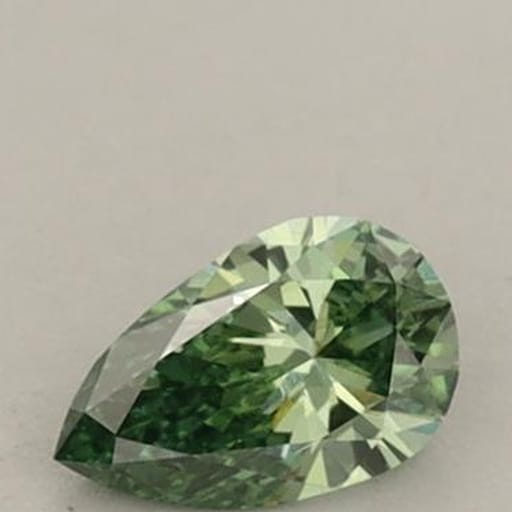
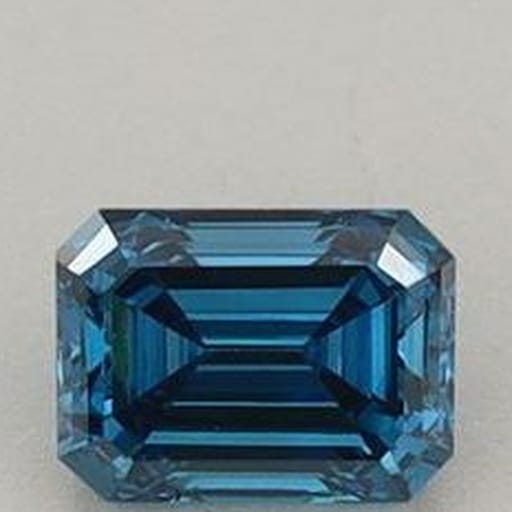
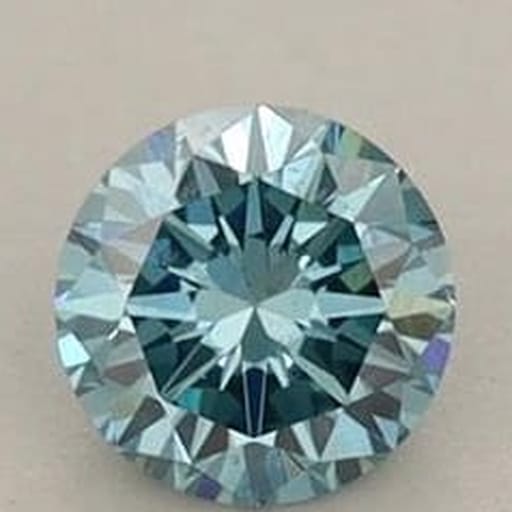
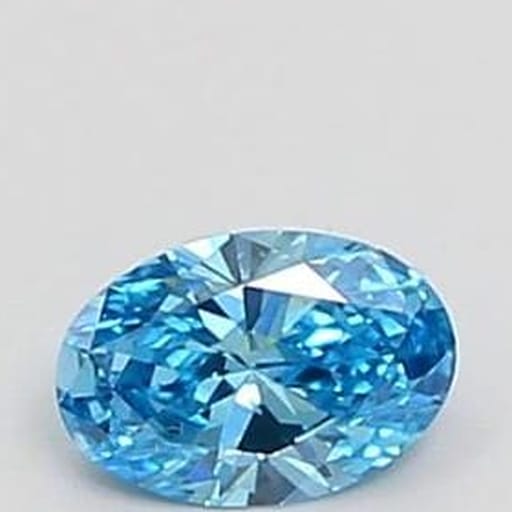
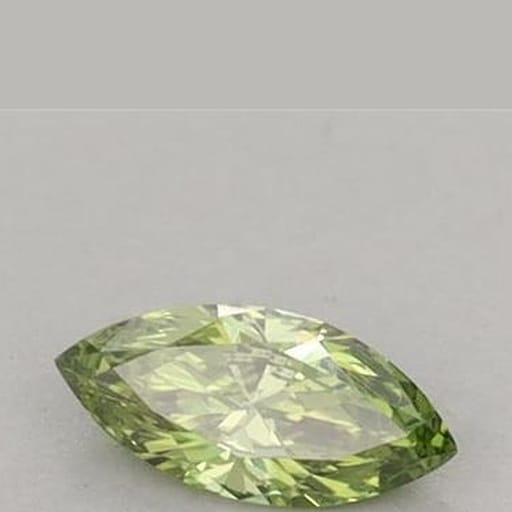
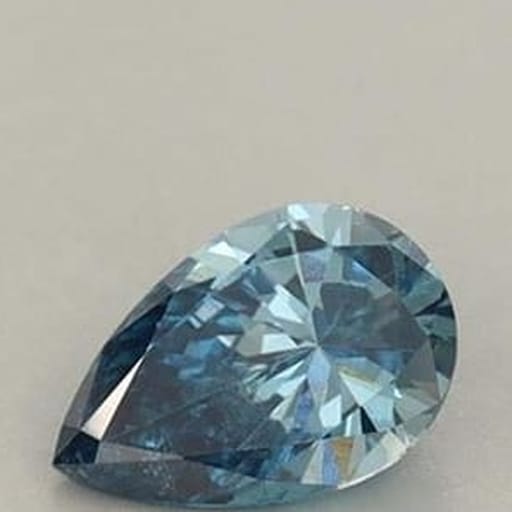
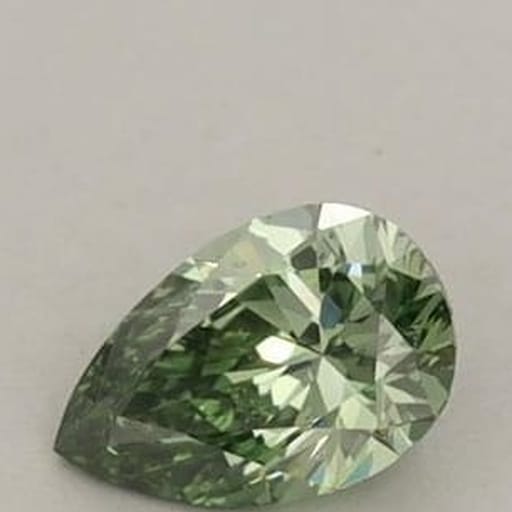
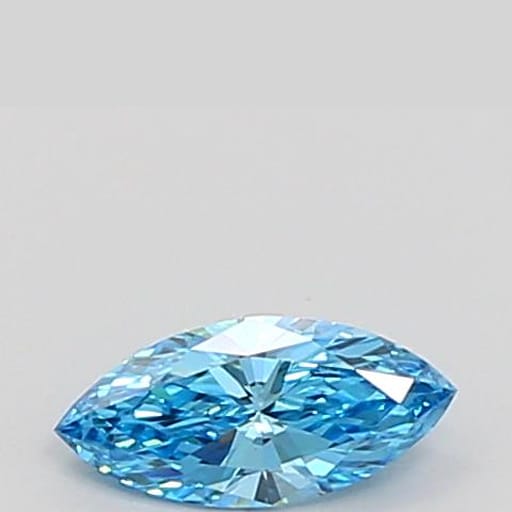
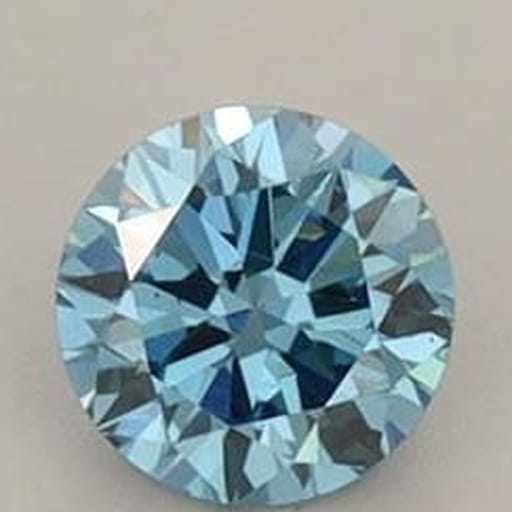
Colored Diamonds
Type
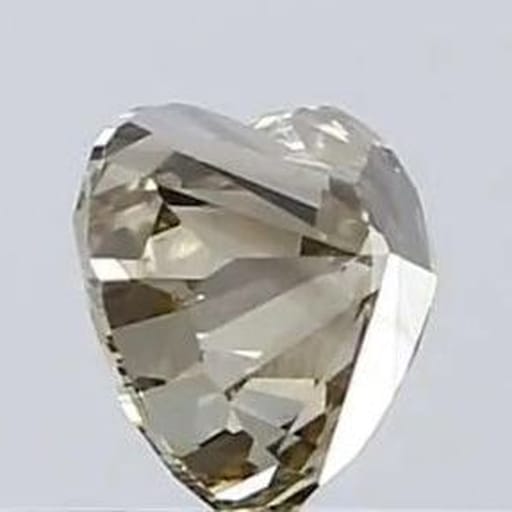
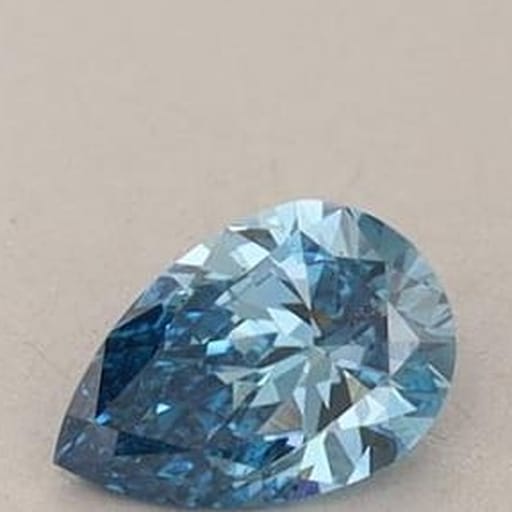
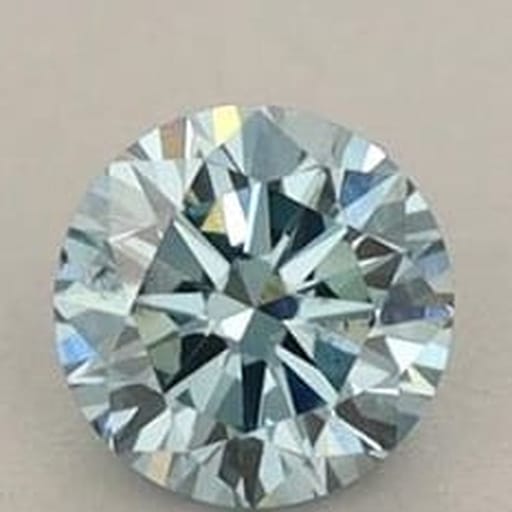
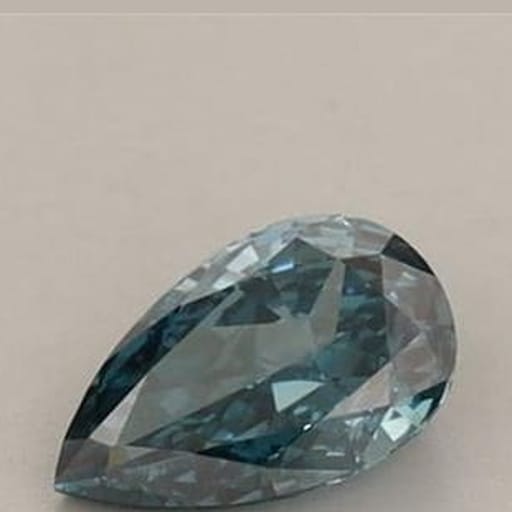
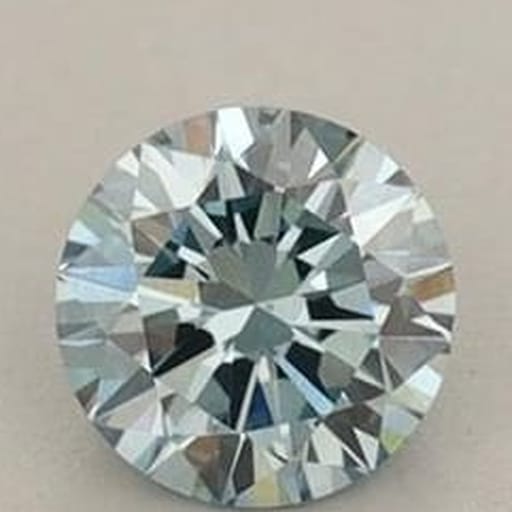
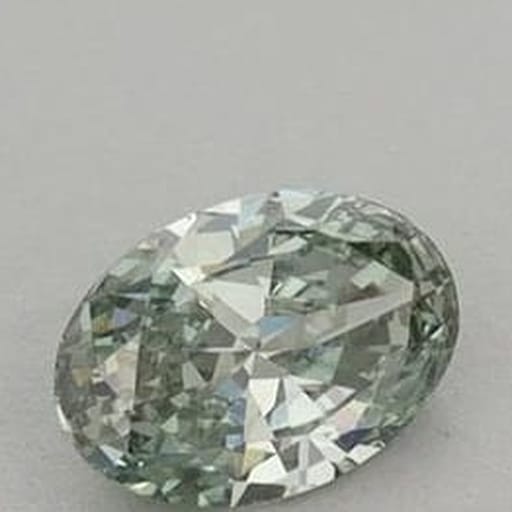
Shape
Shape influences the personality and price of a diamond.
Price
Many factors impact diamond price. With Ritani's Diamond Price Match Guarantee you can be confident you'll get the best price for a diamond. Tip: Tradition tells you to budget 2-3 months' salary for your ring. We say, just do you.
Carat
Carat is the measure of a diamond's weight and size. We offer an array of high-quality diamonds ranging from 0.18 to 25.00 carats- with 1.00 carat being the most popular.
The overall hue of the diamond. Some diamond colors are rarer and thus more expensive.
Intensity
This refers to how saturated the diamond's color is.
Clarity
Clarity indicates how many flaws are visible to the naked eye. Too many flaws can detract from a diamond's beauty.
More Filters
Cut
Cut is the quality of a diamond’s proportions and symmetry. The better a diamond’s proportions and symmetry, the more sparkle it will produce. Cut is the most important of the 4 Cs.
Delivery Date
In a rush to get your diamond? Choose your ideal delivery date.
Polish
A well-polished diamond will have excellent light return.
Fluorescence
Some diamonds glow blue or green when exposed to UV light. Since fluorescence is rarely visible, it has minimal impact on the appearance of your diamond. To save money, go for medium fluorescence.
Depth
Depth percentage correlates with a diamond's sparkle factor. It is measured by dividing the diamond height by its diameter. For maximum sparkle, the depth percentage of a round diamond should be between 54% and 66%.
Length/Width Ratio
The proportional relationship between your diamond’s length and width. A perfect round diamond would measure equally 1-to-1, so its LxW ratio would measure as 1.
Symmetry
Symmetry tells you how well a diamond’s facets align to create sparkle. Diamonds with perfect symmetry create the most sparkle and earn a grade of Excellent or Ideal.
Table
Table percentage tells you how big a diamond’s topmost facet (aka table) is in comparison to its diameter (aka girdle). When that ratio is in the right range, a diamond will sparkle more.
Culet
The culet is the point at the bottom of the diamond. If the point has a facet on it, it can stop light from reflecting and detract from the diamond's sparkle. Choose a diamond with no culet for optimum sparkle.
Certificate
All of Ritani’s natural diamonds are certified by either the GIA or AGSL, the industry’s two most respected grading labs.
Cut
Cut is the quality of a diamond’s proportions and symmetry. The better a diamond’s proportions and symmetry, the more sparkle it will produce. Cut is the most important of the 4 Cs.
Ideal
Very Good
Good
Delivery Date
In a rush to get your diamond? Choose your ideal delivery date.
Polish
A well-polished diamond will have excellent light return.
Excellent
Very Good
Good
Fluorescence
Some diamonds glow blue or green when exposed to UV light. Since fluorescence is rarely visible, it has minimal impact on the appearance of your diamond. To save money, go for medium fluorescence.
None
Faint
Medium
Strong
Very Strong
Depth
Depth percentage correlates with a diamond's sparkle factor. It is measured by dividing the diamond height by its diameter. For maximum sparkle, the depth percentage of a round diamond should be between 54% and 66%.
Length/Width Ratio
The proportional relationship between your diamond’s length and width. A perfect round diamond would measure equally 1-to-1, so its LxW ratio would measure as 1.
Symmetry
Symmetry tells you how well a diamond’s facets align to create sparkle. Diamonds with perfect symmetry create the most sparkle and earn a grade of Excellent or Ideal.
Excellent
Very Good
Good
Fair
Table
Table percentage tells you how big a diamond’s topmost facet (aka table) is in comparison to its diameter (aka girdle). When that ratio is in the right range, a diamond will sparkle more.
Culet
The culet is the point at the bottom of the diamond. If the point has a facet on it, it can stop light from reflecting and detract from the diamond's sparkle. Choose a diamond with no culet for optimum sparkle.
None
Very Small
Medium
Slightly Large
Large
Certificate
All of Ritani’s natural diamonds are certified by either the GIA or AGSL, the industry’s two most respected grading labs.
Lab Diamond Growth Process
Lab diamonds are made using two processes, HPHT and CVD. Both mimic the natural process of earth diamonds. LEARN ABOUT LAB DIAMONDS
Get an in depth analysis of this diamond.
Send me a report
Financing available with or
or

Get an in depth analysis of this diamond.
Send me a report
Financing available with or
Get an in depth analysis of this diamond.
Send me a report
Financing available with or
Get an in depth analysis of this diamond.
Send me a report
Financing available with or
Get an in depth analysis of this diamond.
Send me a report
Financing available with or
Get an in depth analysis of this diamond.
Send me a report
Financing available with or
Get an in depth analysis of this diamond.
Send me a report
Financing available with or
Get an in depth analysis of this diamond.
Send me a report
Financing available with or

Get an in depth analysis of this diamond.
Send me a report
Financing available with or
Get an in depth analysis of this diamond.
Send me a report
Financing available with or
Get an in depth analysis of this diamond.
Send me a report
Financing available with or
Get an in depth analysis of this diamond.
Send me a report
Financing available with or
Get an in depth analysis of this diamond.
Send me a report
Financing available with or
Get an in depth analysis of this diamond.
Send me a report
Financing available with or
Get an in depth analysis of this diamond.
Send me a report
Financing available with or
Get an in depth analysis of this diamond.
Send me a report
Financing available with or
Get an in depth analysis of this diamond.
Send me a report
Financing available with or
Get an in depth analysis of this diamond.
Send me a report
Financing available with or
Get an in depth analysis of this diamond.
Send me a report
Financing available with or
Get an in depth analysis of this diamond.
Send me a report
Financing available with or
Get an in depth analysis of this diamond.
Send me a report
Financing available with or

Get an in depth analysis of this diamond.
Send me a report
Financing available with or
Get an in depth analysis of this diamond.
Send me a report
Financing available with or

Get an in depth analysis of this diamond.
Send me a report
Financing available with or
You’ve viewed 24 of 54,613 products
Copyright © Ritani 2026